Settings & Connectivity
The SuuprTests Settings panel is your control center for managing how the dashboard communicates with your active Flutter applications. This is where you configure device targeting, Dart VM connections, logging, and performance flags.
Sync Up Your Available Simulators
Before running automated tests, ensure your local environment is correctly indexed. SuuprTests can automatically scan your system and sync up the list of available iOS simulators, Android emulators, and local desktop environments.
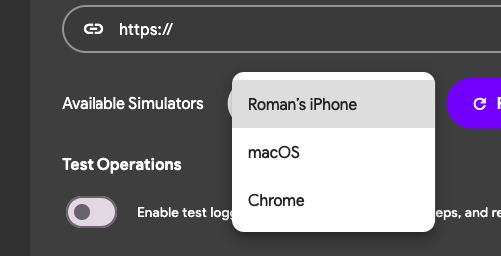
If you don't have any simulators synced yet or just launched a simulator after launching the app, you can sync them by clicking on the Refresh Simulators button. This will scan your system and update the list of available simulators.

Manual Connect
If you already have your Flutter app running in debug/profile mode (via flutter run or your IDE), you can tether the dashboard to it manually without having to rebuild the app. Just click on the Manual option, add the URL of the Dart VM Service URL (you can find this URL in the terminal where you ran flutter run) - looks like:
A Dart VM Service on macOS is available at: http://127.0.0.1:57271/UGUojn356go=/
and then click on the Manual Connect button.

Connecting to the App using the Dart VM URI
When your app launches in debug mode, it exposes an observatory/Dart VM service WebSocket URI in your console. Copy this URI and paste it directly into the manual connect prompt to bridge the dashboard with the Flutter runtime.
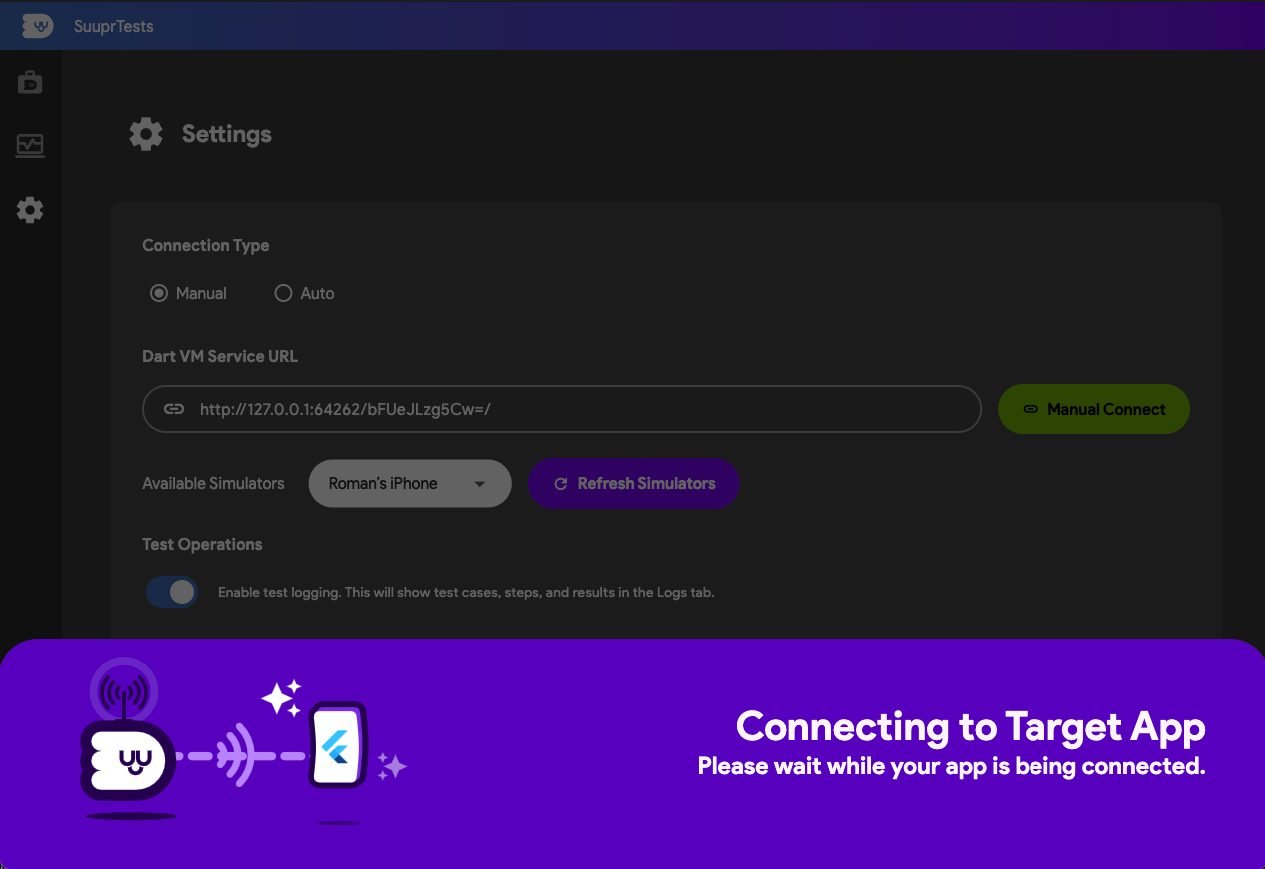
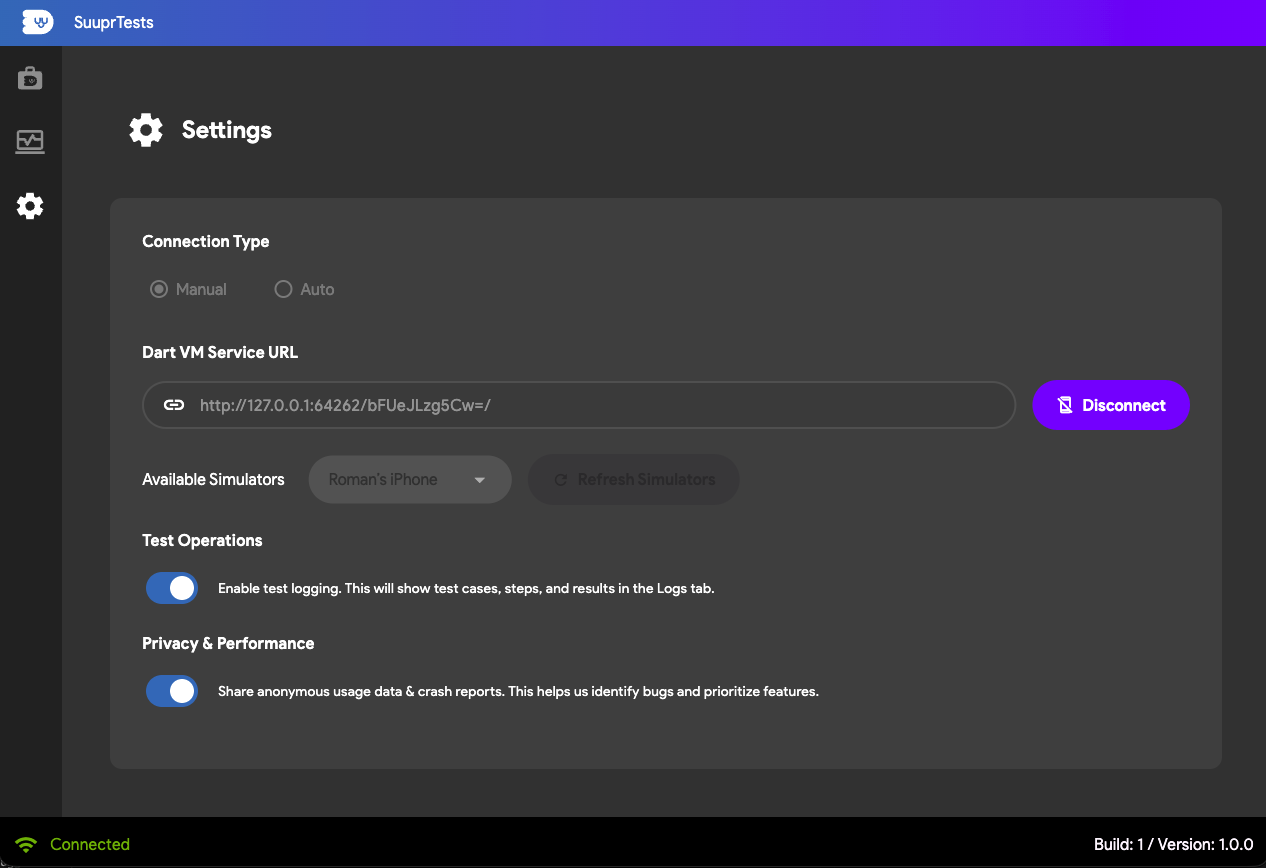
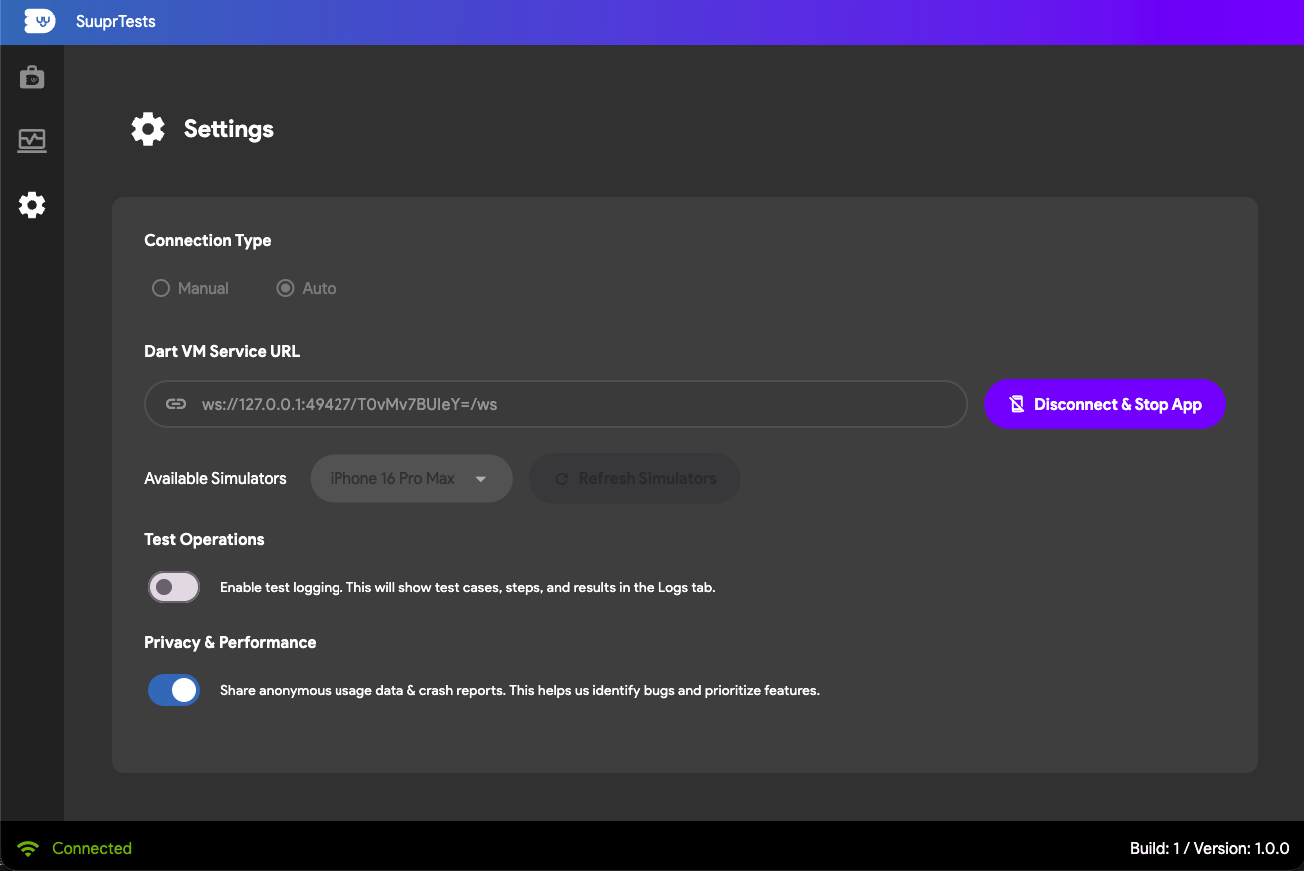
Successful Connection to App
Once the handshake is successfully negotiated, the dashboard visually updates to indicate a secure tether. Your widgets are now fully controllable, and you are ready to dispatch test steps!

Disconnect from App
When you are finished recording or testing, cleanly close the WebSocket connection. This disconnects the dashboard without crashing the target Flutter application.
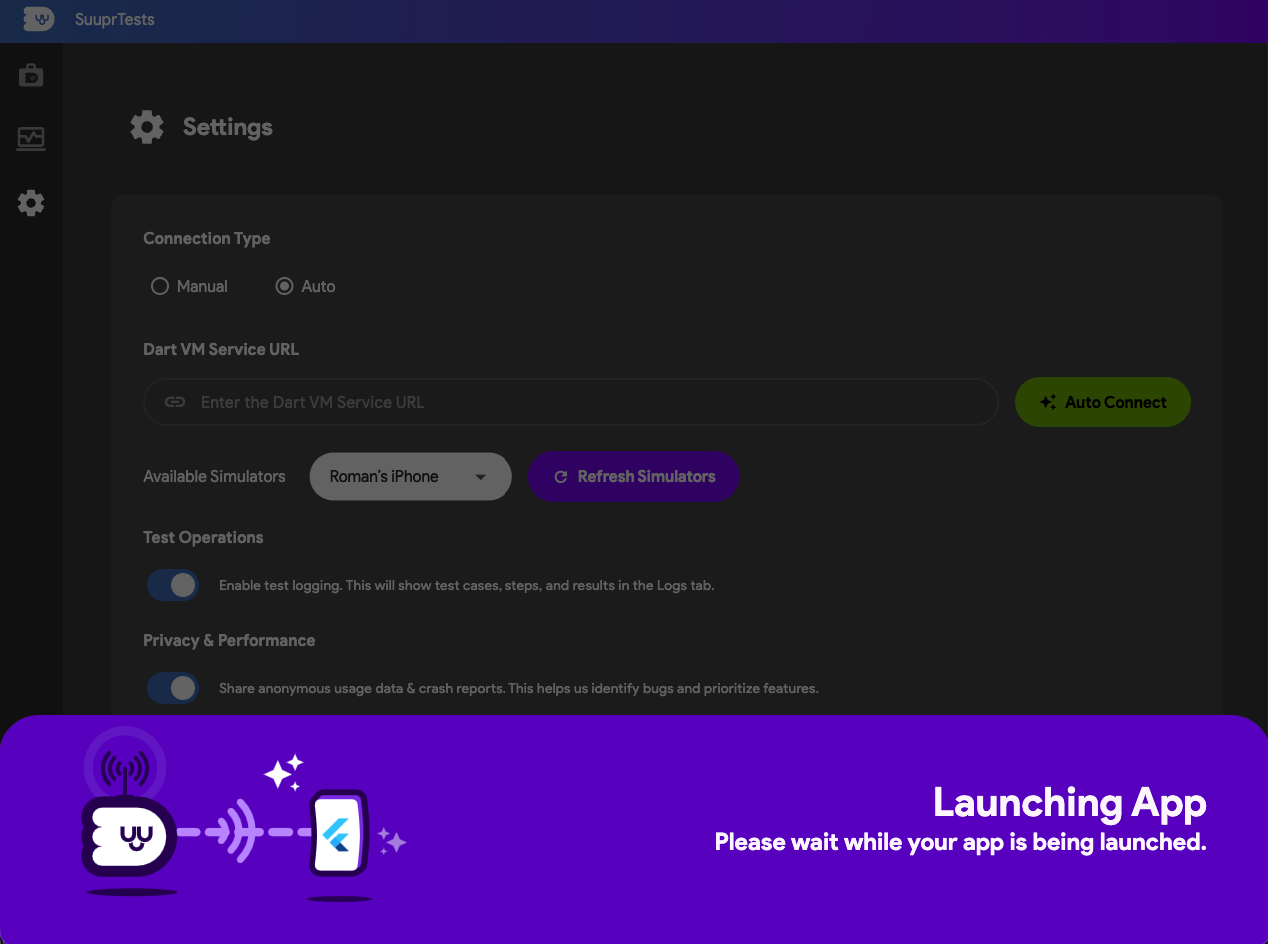
Auto-Connect
For a more seamless experience, SuuprTests provides a powerful auto-connect feature. Instead of juggling VM URIs manually, the dashboard can directly orchestrate the build process on your behalf.
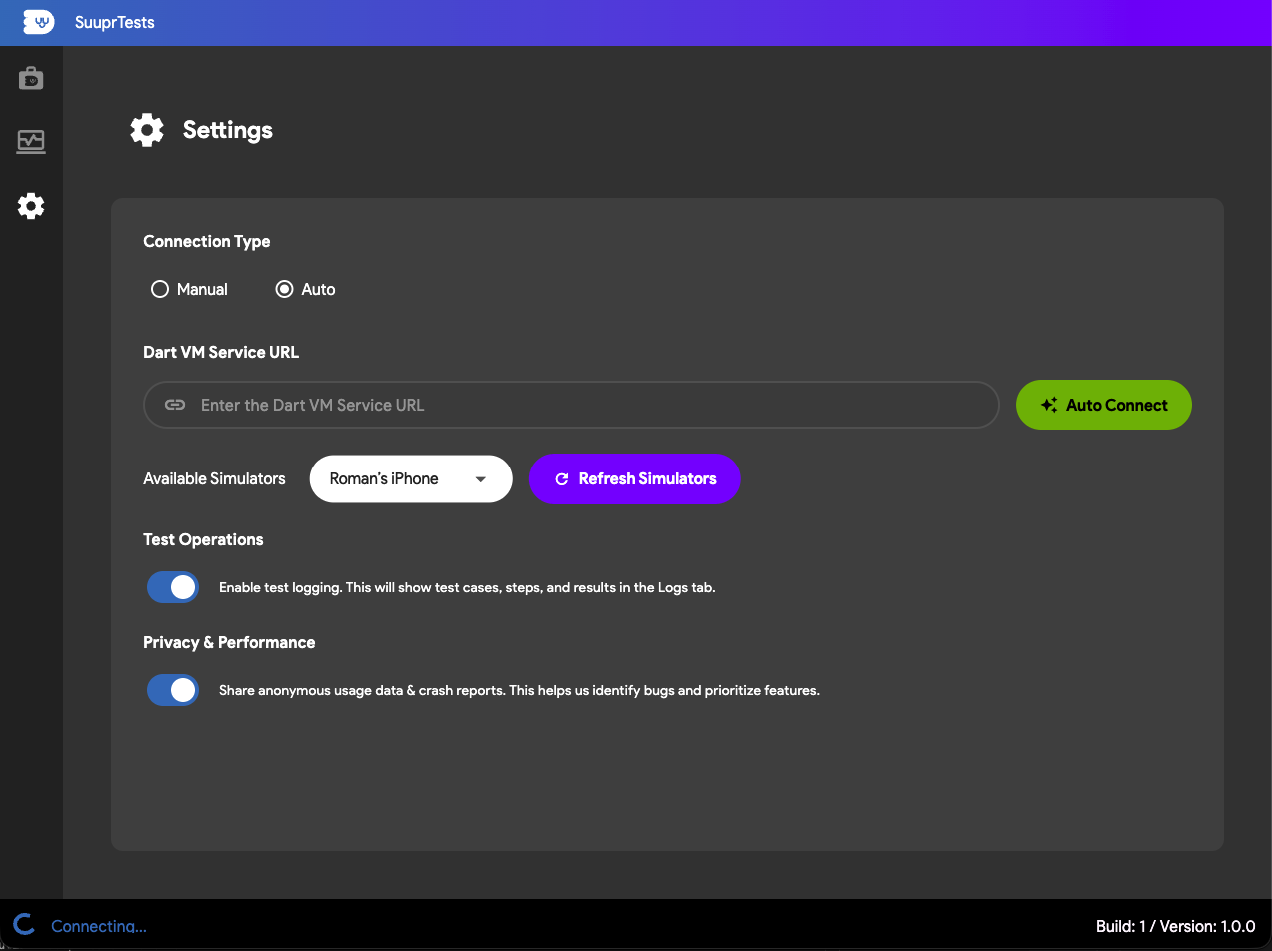
Launch the App
Selecting this will trigger the underlying Flutter SDK to compile and launch your project directly onto your synced device, automatically capturing the Dart VM URI and tethering it instantaneously. All you need to do is point it to the root folder of your Flutter project (it must contain a valid pubspec.yaml file and be a working Flutter project for it to work).
Disconnect and Stop App
When utilizing Auto-Connect mode, disconnecting from the dashboard will completely terminate the Flutter application process, shutting your test session down cleanly.
Enable Test Logging
If you encounter issues during step execution or simply want a detailed footprint of your test case progression, enabling Test Logging forces the underlying SuuprTestsBinding to emit verbose analytics. This is extremely helpful for debugging layout discrepancies, UI performance, or identifier mismatches.

Privacy and Performance
Configure boundary strictness for your active testing environments. This section allows you to toggle testing telemetry and manage rendering options, ensuring your automated tests run fast and efficiently without unnecessarily bottlenecking your CI/CD pipelines.
